A summer pop-up booth — a farmers market, an art fair, a community event, a sidewalk sale — works or doesn’t work based on what’s at the booth and what gets shipped while you’re standing behind it. The print kit you order in the four weeks before the event determines whether browsers become buyers, and the shipping setup you put in place determines whether the orders that come in online while you’re at the booth ship that day or sit on your kitchen counter for a week.
This is the playbook for a side-hustler, Etsy seller, or first-year e-commerce owner who has a summer event on the calendar and roughly $300–$700 to spend on getting ready.
A typical summer market pulls 2,000–8,000 walk-by browsers across a single day. A well-stocked booth converts 1–3% of those into a transaction at the booth and another 5–10% into a “follow up later” — newsletter signup, business card pocketed, social follow. Of the follow-up group, maybe 10–20% will actually buy from you online in the next 30 days, but only if your print kit gave them something to remember you by and a clear way back.
The math says the print kit is worth more than the booth fee for almost every event. Most first-year sellers underspend on print and overspend on inventory. The fix is the kit below.
The Banner. A 2×6 or 3×6 vinyl banner with your business name, what you sell in five words or fewer, and your handle / website at the bottom. This is the “stop the scroll” of a physical event — readable from across the aisle. Order 6 weeks before the event, will last 3–5 years across dozens of events.
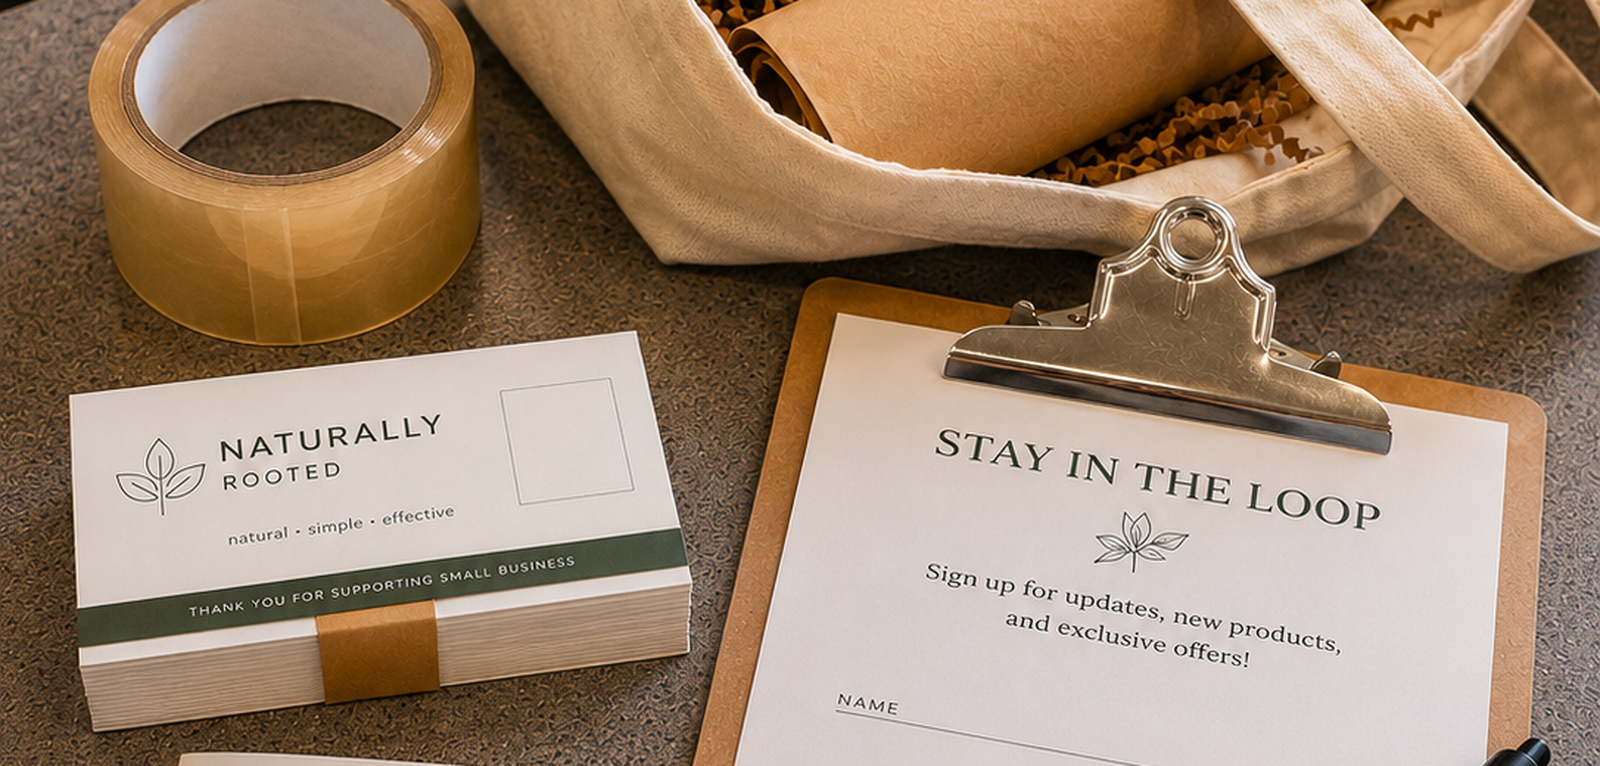
Takeaway Cards. Not business cards — takeaway cards. The difference: a takeaway card has the offer or hook on the front, your contact and discount code on the back, and is large enough (3.5×5 or 4×6) to feel like a small flyer rather than a card you’d file away. The single most important printed item at the booth.
Branded Thank-You Inserts. A 4×6 card that goes inside every shipped order. Front: “Thank you” with a hand-feel design. Back: your handle, a 15% discount code for the next order, and a request to share if they love it. The single most important printed item for repeat business.
Mailer Signup Sheet (and clipboard sign). A clipboard with a printed signup sheet and a small sign on the table that says “Get 15% off your first order” or “Join the list — first to know about new drops” turns the booth into a list-building machine.
A Few Postcards or Flyers for Local Foot Traffic. If you’ve got 50 leftover business cards or postcards, drop them at one or two friendly neighboring businesses (a coffee shop, a gym, a bookstore) the week before the event.
Display. A clean tablecloth, a riser or stand to give your products height, and the banner mounted behind or above the table. The display should look the way your brand looks online — same colors, same energy. If your Instagram is minimal and clean, the booth should be too.
Signage. A small printed sign with prices (so browsers don’t have to ask), a small printed sign with your handle / website, and a small printed sign with a promotional offer if you’re running one. Three signs, no more — clutter kills conversions.
Payment and Contact Capture. A card reader (Square, Stripe, etc.), a small cash float for change, and the clipboard with the signup sheet. Every transaction should end with: “Want me to add you to the list for first dibs on next drop?” Most people say yes.
Here’s the part most first-year sellers don’t plan for: a good booth day produces a spike in online orders that arrive while you’re physically standing somewhere with no shipping setup. If those orders sit until Monday, you’ve trained your best new customers to wait.
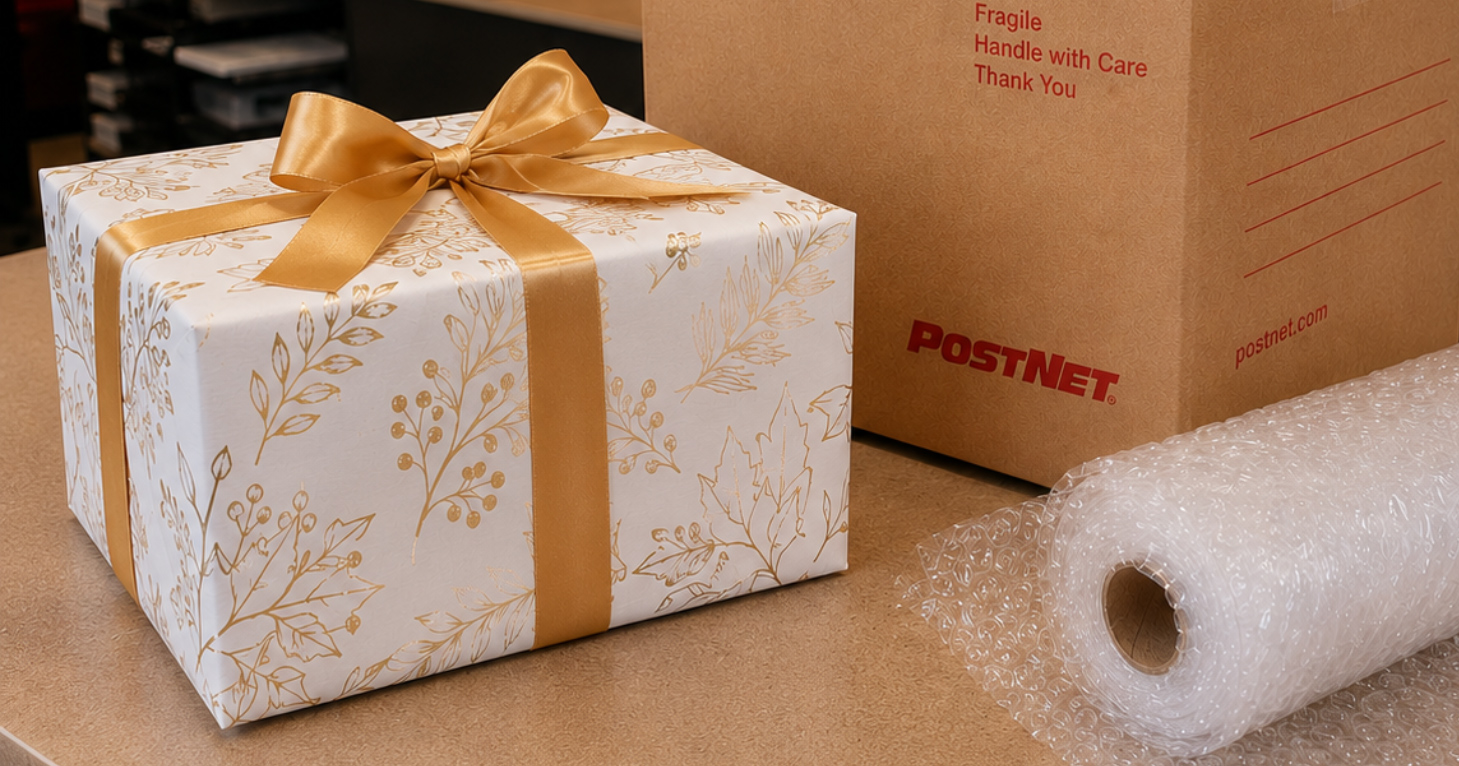
The fix is to set up multi-carrier shipping in advance — before the event — and run it the day after.
What “multi-carrier” actually means: comparing USPS®, UPS®, FedEx®, and DHL® based on package size, weight, destination, and delivery speed instead of relying on a single carrier for every shipment. In many cases, USPS® can be cost-effective for lightweight packages, while UPS® or FedEx® Ground may offer better value for heavier or regional shipments. Pair that with a templated label workflow that takes the address and prints in 30 seconds, not 10 minutes per order, and fulfillment becomes much easier to manage during busy periods.
Your local PostNet Center can quote any single shipment across all four carriers in one stop — UPS, FedEx, DHL, USPS — and pick the cheapest option for that specific package. For a typical first-year seller running 10–30 orders the week after a big event, this routinely saves $40–$120 on shipping alone, which is the difference between an event that paid for itself and one that almost did.
4 weeks before the event:
2 weeks before the event:
1 week before the event:
Event day:
The week after:
| Item | Quantity | Estimated cost* | Lead time | Where it lives |
|---|---|---|---|---|
| Vinyl banner (2×6 or 3×6) | 1 | $50–$80 | 4 weeks | Behind the booth |
| Takeaway cards (4×6) | 250–500 | $50–$70 | 2–3 weeks | At every booth + leave-behinds |
| Thank-you inserts | 250 | $30–$50 | 2 weeks | In every shipped order |
| Table signs (price, handle, offer) | 3 | $20–$40 | 1 week | On the table |
| Postcards / business cards for leave-behinds | 100 | $20–$40 | 1 week | At neighboring businesses |
| Total | $120–$260 |
The print kit, in other words, costs less than a single boosted social post and lasts the whole summer.
**Cost estimates are based on national averages. Actual cost will vary by location.
A complete print kit for a first-year solo seller — banner, takeaway cards, thank-you inserts, table signs, and leave-behinds — typically runs $120–$260 and lasts the entire summer event season. The banner alone covers 3–5 years if you treat it well. The single highest-ROI item is the takeaway card, because it converts browsers into post-event buyers.
Takeaway cards. A takeaway card with your offer on the front and a discount code on the back outperforms a traditional business card for one reason: the recipient has a reason to keep it past Sunday. Most first-year sellers under-print these — 250 is the minimum for a busy summer market; 500 is better.
A printed signup sheet on a clipboard with a small printed table sign offering “15% off your first order in exchange for joining the list” is the single most effective lead-capture mechanism at a physical booth. Every transaction should end with the question “Want me to add you to the list?” Most people say yes if there’s a small incentive attached.
Order banners 4 weeks before your event. Most print shops can turn a banner in 5–10 business days, but 4 weeks gives you a buffer for revisions, weather backup (“the rain banner”), or a misprint. Takeaway cards and thank-you inserts have shorter lead times — 2–3 weeks is comfortable.
No. A well-designed banner that names your business and what you sell — without an event-specific date or location — works for every market for years. The investment pays back over dozens of events, not just one.
A summer pop-up booth converts walk-by traffic into customers when the print kit does the heavy lifting. Banners, takeaway cards, thank-you inserts, and a multi-carrier shipping setup for the post-event order spike — that’s the whole game. Most first-year sellers underspend on the print kit and overspend on inventory, then wonder why the event “didn’t pay off.” It’s almost always the kit.
Bring the event date, the booth dimensions, and an idea of how many cards or banners you need. We’ll handle the design, the print run, and the multi-carrier shipping setup so launch week is “type the address and print” — not “design the label.”
**Cost estimates are based on national averages. Actual cost will vary by location.